
Increase your revenue and stand out in the market 10x faster, combining Civil 3D and InfraWorks
And get ahead of 99% of Civil 3D professionals.
Earn much more money Standing out in the market
Uncover the Secrets of Road Projects in BIM, with a 100% Practical Method!
Learn, click by click, how to create road projects in BIM, and discover a little-known method that elevates your Civil 3D modeling to the superior level of InfraWorks.Infraworks This little-known feature is the key to creating very realistic models in InfraWorks, faithfully maintaining radii, distances, and altimetry!
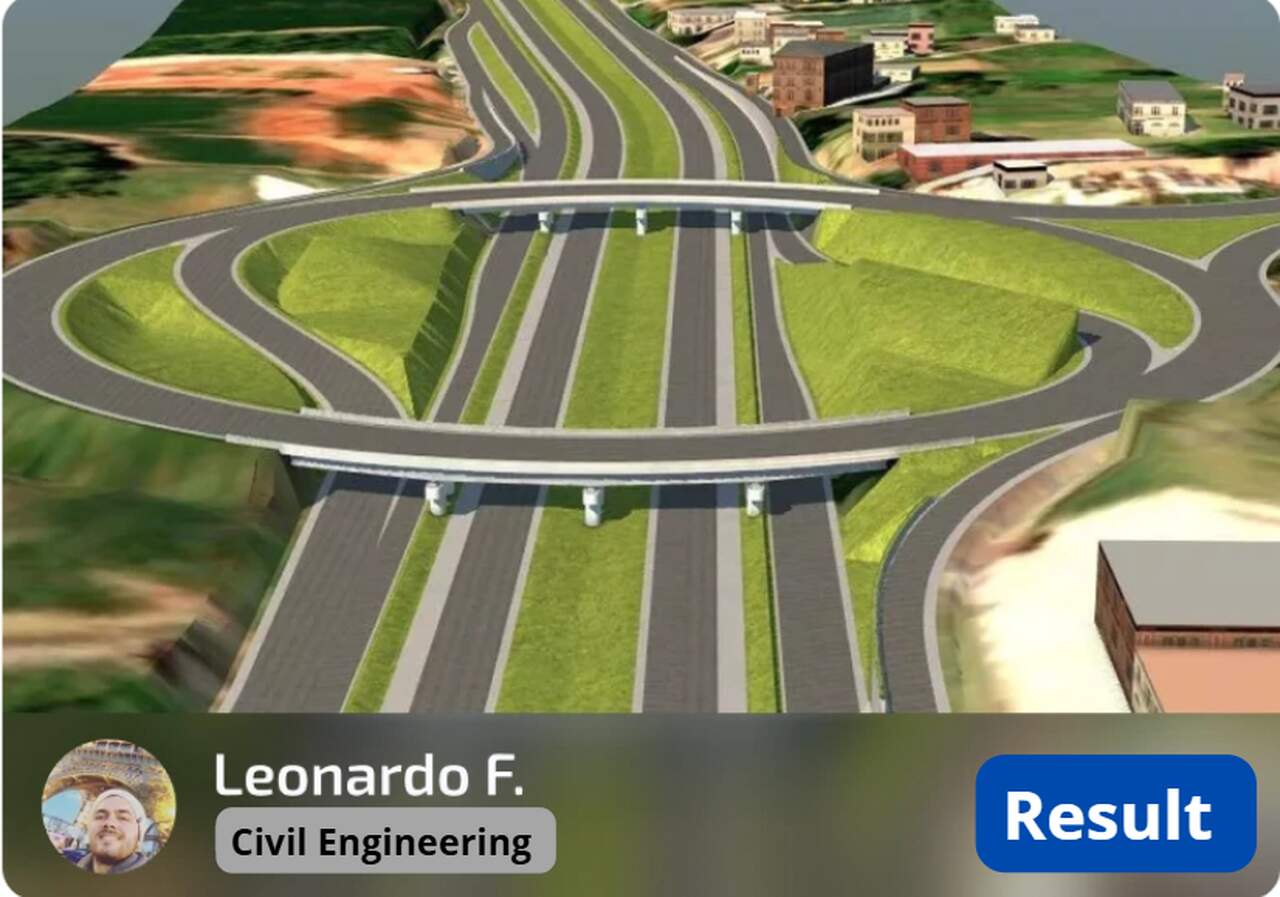
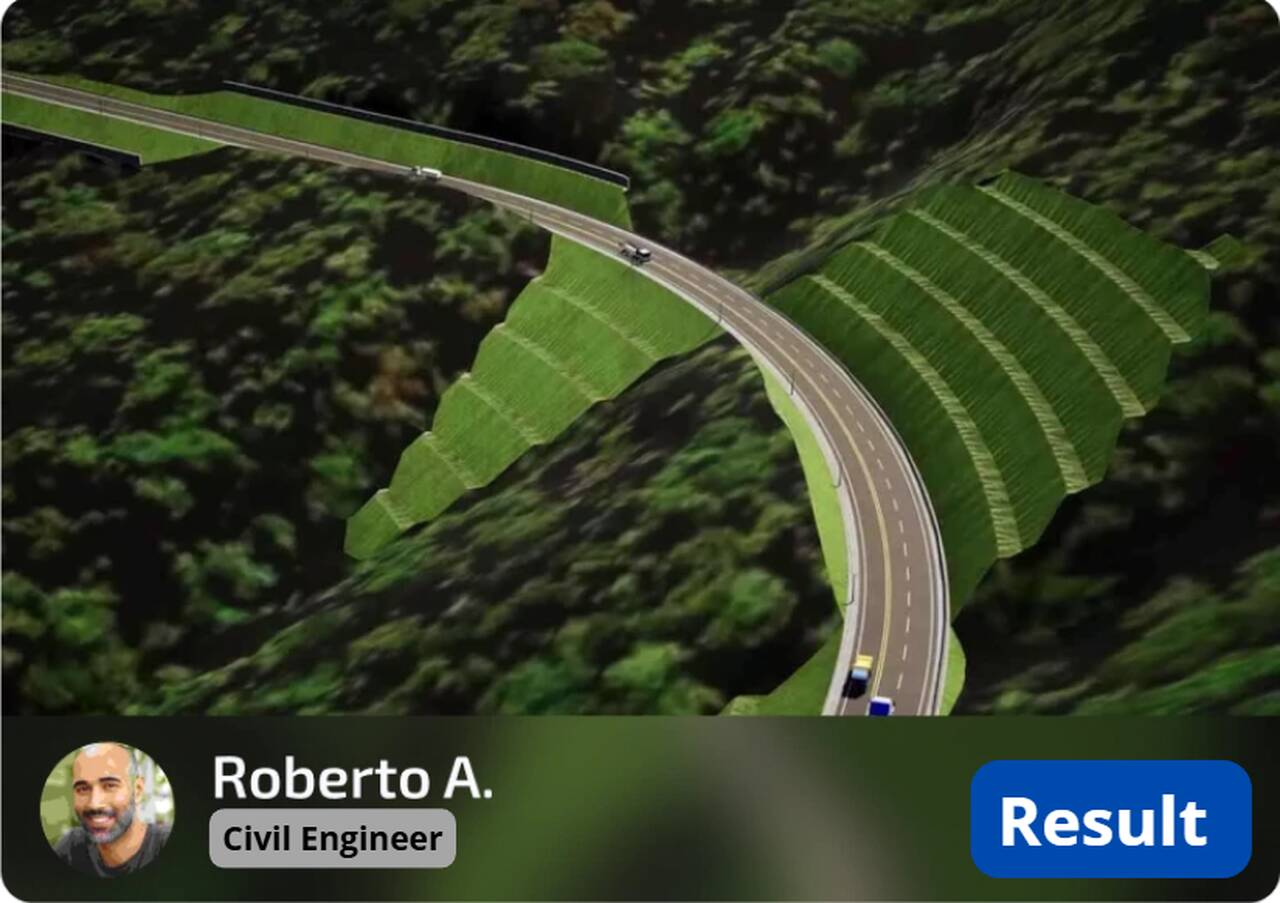
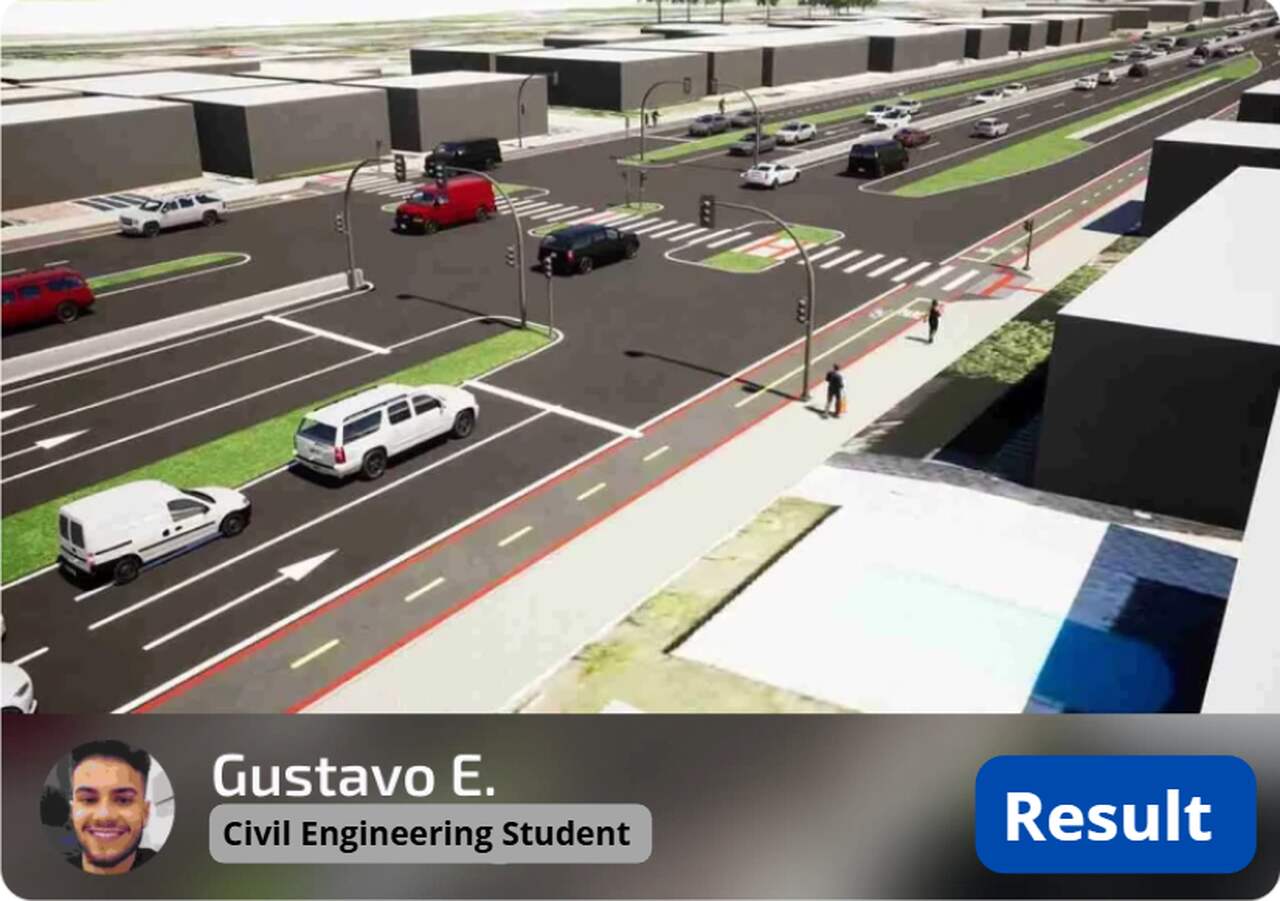
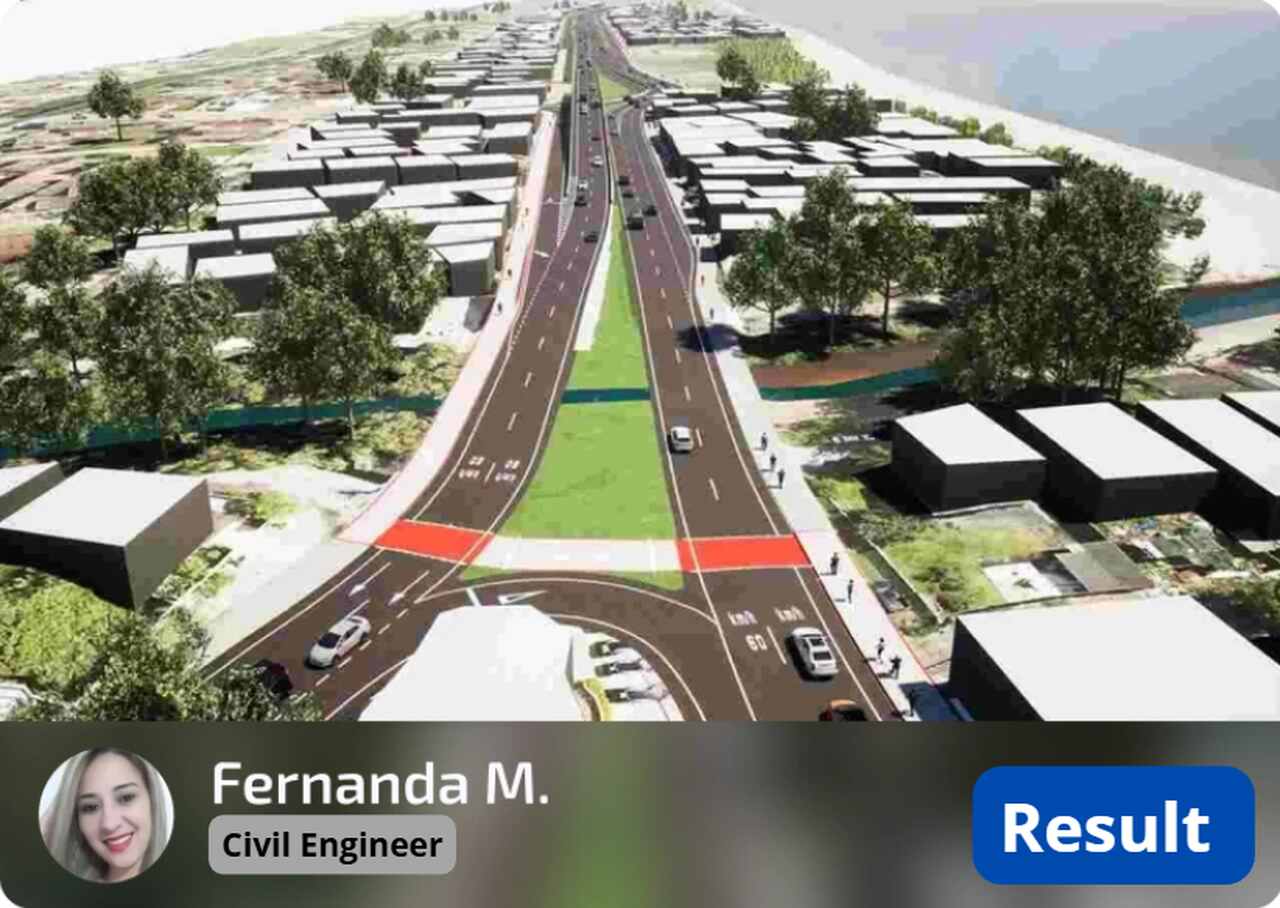
See the testimonials from “InfraWorks and Civil 3D Experts” students who are already significantly increasing their revenues!
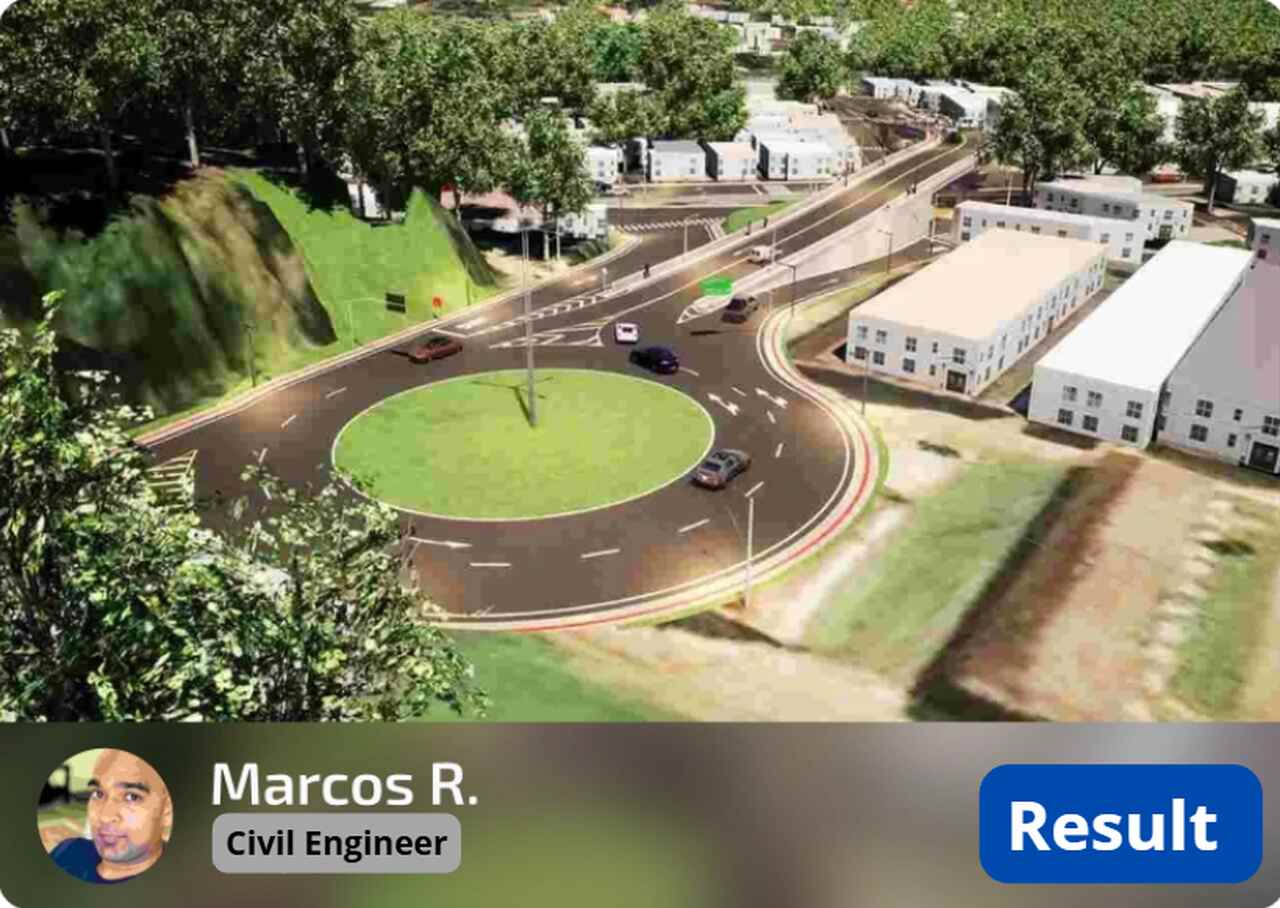
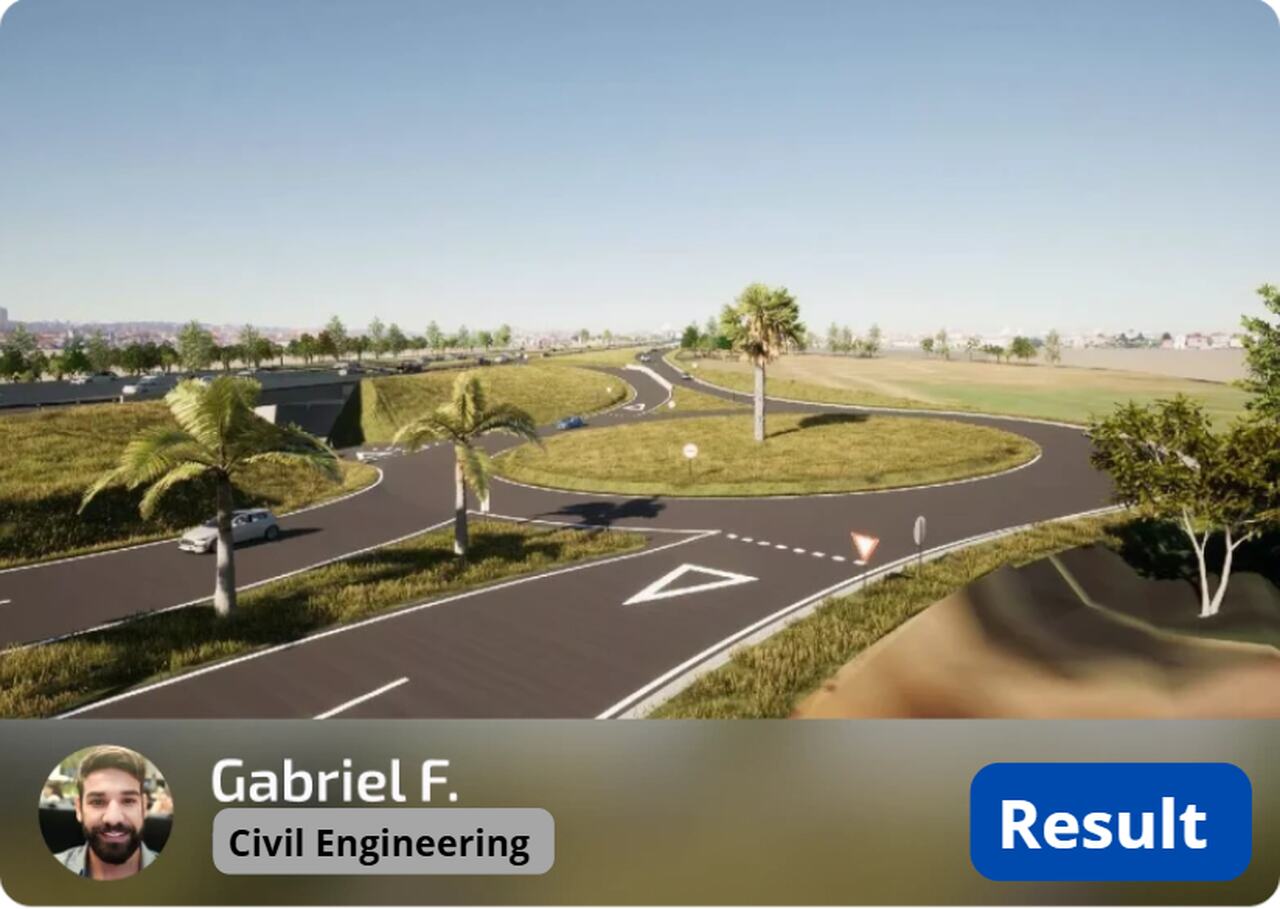
STUDENT RESULT
STUDENT RESULT
STUDENT RESULT
STUDENT RESULT
STUDENT RESULT
STUDENT RESULT
STUDENT RESULT
STUDENT RESULT
STUDENT RESULT
STUDENT RESULT
Who is the course for?
Who want to change their future.
Achieving the deserved recognition and exponentially boosting revenue.
Who have decided to boost their career.
And doesn't want to be just another one in the crowd, but rather become a reference in the market.
Who want to impress the market. Parar
And present works that very few people have ever seen.
Works executed using the methodology taught in the course
Within the Infraworks model
Rendered video
Within the Infraworks model
Rendered video
Within the Infraworks model
Rendered video
Intersection designed step-by-step within the course
Subdivision designed step-by-step within the course
Why become a expert in Infraworks and Civil 3D?
The main reason to become a expert in InfraWorks is to greatly increase your revenue,standing out! How?
What the overwhelming majority of the market delivers...
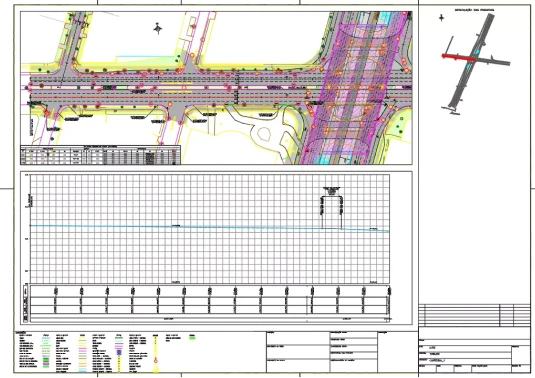
Plan and profile
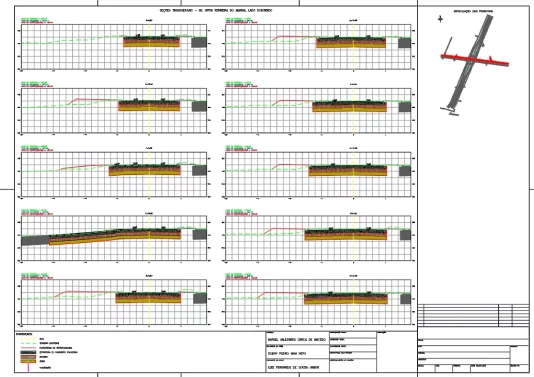
Cross sections

An expert in InfraWorks, besides delivering everything the market is used to, it also delivers...
InfraWorks Model
Cloud Model
Ultra-realistic videos and images
You will learn step by step
01
HOW TO DO THE ENTIRE BIM IMPLEMENTATION
02
HOW TO CREATE ROAD DESIGN PROPOSALS IN BIM USING INFRAWORKS
03
HOW TO LEARN TO DESIGN FROM SCRATCH WITH CIVIL 3D
04
HOW TO DESIGN THE ENTIRE EXECUTIVE GEOMETRY IN CIVIL 3D
05
HOW TO DO THE ENTIRE EXECUTIVE EARTHWORK MODELING IN CIVIL 3D
06
HOW TO EXTRACT ALL REPORTS FROM CIVIL 3D
07
HOW TO DO THE ENTIRE BIM COORDINATION OF YOUR PROJECTS
08
HOW TO EXPORT THE ENTIRE EXECUTIVE PROJECT FROM CIVIL 3D TO INFRAWORKS
09
HOW TO CREATE ULTRA-REALISTIC IMAGES AND ANIMATED VIDEOS OF EXECUTIVE PROJECTS
10
HOW TO DESIGN THE GEOMETRY AND EARTHWORKS OF A SUBDIVISION BY COMBINING CIVIL 3D AND INFRAWORKS
Get to know the course modules
Module 1 | BIM Implementation
Lesson 1: Module Introduction
Lesson 2: Creating the CDE
Lesson 3: Main Features
Lesson 4: Synchronizing CDE with the PC
Module 2 | Preliminary Design (InfraWorks)
Lesson 1: Module Introduction
Lesson 2: Creating the InfraWorks Model in the CDE
Lesson 3: Introducing the InfraWorks Interface
Lesson 4: Creating Horizontal Alignments (Main Line)
Lesson 5: Creating Horizontal Alignments (Branches) - Pt 01
Lesson 6: Creating Horizontal Alignments (Branches) - Pt 02
Lesson 7: Creating Horizontal Alignments (Loops)
Lesson 8: Final Adjustments
Lesson 9: Exporting Preliminary Reports and Other Tools
Module 3 | Detailed Geometry (Civil 3D)
Lesson 1: Module Introduction
Lesson 2: Importing Surface from InfraWorks
Lesson 3: Creating Horizontal Geometry (Main Line)
Lesson 4: Creating Horizontal Geometry (Branches)
Lesson 5: Creating Horizontal Geometry (Loops) - Pt 01
Lesson 6: Creating Horizontal Geometry (Loops) - Pt 02
Lesson 7: Generating Superelevation
Lesson 8: Creating Vertical Alignments (Main Line)
Lesson 9: Creating Vertical Alignments (Branches)
Lesson 10: Creating Vertical Alignments (Loops)
Module 4 | Detailed Modeling (Civil 3D)
Lesson 1: Module Introduction
Lesson 2: Generating Corridors (Main Line) - Pt 01
Lesson 3: Generating Corridors (Main Line) - Pt 02
Lesson 4: Generating Corridors (Branches)
Lesson 5: Generating Corridors (Loops)
Update Lesson: New Target Mapping
Lesson 6: Horizontal Fit of Corridors (Loops)
Lesson 7: Horizontal Fit of Corridors (Branches)
Lesson 8: Generating Cross Sections
Lesson 9: Superimposed
Lesson 10: Vertical Fit of Corridors (Main Line 01)
Lesson 11: Vertical Fit of Corridors (Main Line 02)
Lesson 12: Final Corridor Adjustments
Lesson 13: Inserting Geometry and Executive Modeling into the BIM Workflow
Lesson 14: Changing Assembly Codes
Lesson 15: Extracting Solids and Exporting IFC
Module 5 | Extracting Reports (Civil 3D)
Lesson 1: Module Introduction
Lesson 2: Creating Design Surfaces
Lesson 3: Earthwork Volumes
Lesson 4: Service Notes
Lesson 5: Horizontal Curve Tables
Lesson 6: Other Reports
Module 6 | Final Design (InfraWorks)
Lesson 1: Module Introduction
Lesson 2: Importing Signage from SINC
Lesson 3: Importing Hatches and Horizontal Signage
Lesson 4: Importing Design Surface
Lesson 5: Inserting OAE
Update Lesson: New Target Mapping
Lesson 6: Correcting Triangulation
Lesson 7: Inserting Vertical Signage
Lesson 8: Finalizing OAE
Lesson 9: Inserting Barrier
Lesson 10: Inserting Finishes
Update Lesson: New Renderer
Lesson 11: Creating Video
Lesson 12: Animating Cars, Pedestrians, and Bicycles
Module 7 | BIM Coordination
Lesson 1: Module Introduction
Lesson 2: Getting to Know the BIM Coordination Tool
Lesson 3: Managing Members and Disciplines
Lesson 4: Importing Files
Lesson 5: Federating BIM Models
Lesson 6: Getting to Know Issues
GET ACCESS TO ALL RECORDED CLASSES FOR ONLY
$ 399.00 USD
This is the last time you’ll see this price! With each new class, the price will increase.

Guarantee
Unconditional
If within 7 days you don’t like something—which I highly doubt—just send me an email, and I’ll refund 100% of your investment.

Guarantee
Conditional
If within 90 days you watch all the classes and apply them, and still cannot combine Civil 3D and InfraWorks, we will hold a Zoom meeting to clarify doubts and outline a new plan.
After an additional 90 days, if you still cannot combine Civil 3D and InfraWorks, I will refund 100% of your investment, plus an extra $500 from my own pocket!
Who will be your instructor?
Throughout my career, I have helped thousands of students boost their careers with personalized guidance and valuable insights, elevating their knowledge.
I created the EXPERT IN INFRAWORKS AND CIVIL 3D IN THE BIM WORKFLOW to help ordinary people achieve great results because I know it’s possible!
So, if you want to change your future, click the button below and discover the method I use in my projects, which will now take yours to the next level.

Do you have questions?
What is the course methodology?
The course is 100% practical. From the very first class, I share my computer screen, and we design everything together step by step. I explain the reason behind each action and how to execute every command.
Do you offer support for questions?
Yes! Every class has a space for questions. Whenever a student faces a difficulty, just comment in the class, and I’ll respond with a personalized video.
How long will I have access to the classes?
Access to all content is available for 1 year.
How will I receive the course?
As soon as your order is approved, the access link to the course will be sent to your email, where you will have access to your private area with a personal login and password.
Will I receive a certificate?
Absolutely! After completing all the classes, the certificate will be available within the platform for you to download and print.
What are the payment methods?
Credit card (single payment or installments) and PayPal.
Is a degree required to take the course?
No, the course is also recommended for technicians and for people looking to start a new profession.